in Finland!
in Finland!

Have you looked into decorating with wall decals but still wonder about if they might leave lasting marks on your walls? This is one of the most common questions we get (for a good reason), because who would not want to know what happens to your walls when it finally is time to remove your precious designs (specially if you are renting).
For the ones in a hurry, the short answer is: yes, although this very rarely happens it is still possible. There is however so much to wall decals that this needs a bit more explaining, so read on if you want to know more.
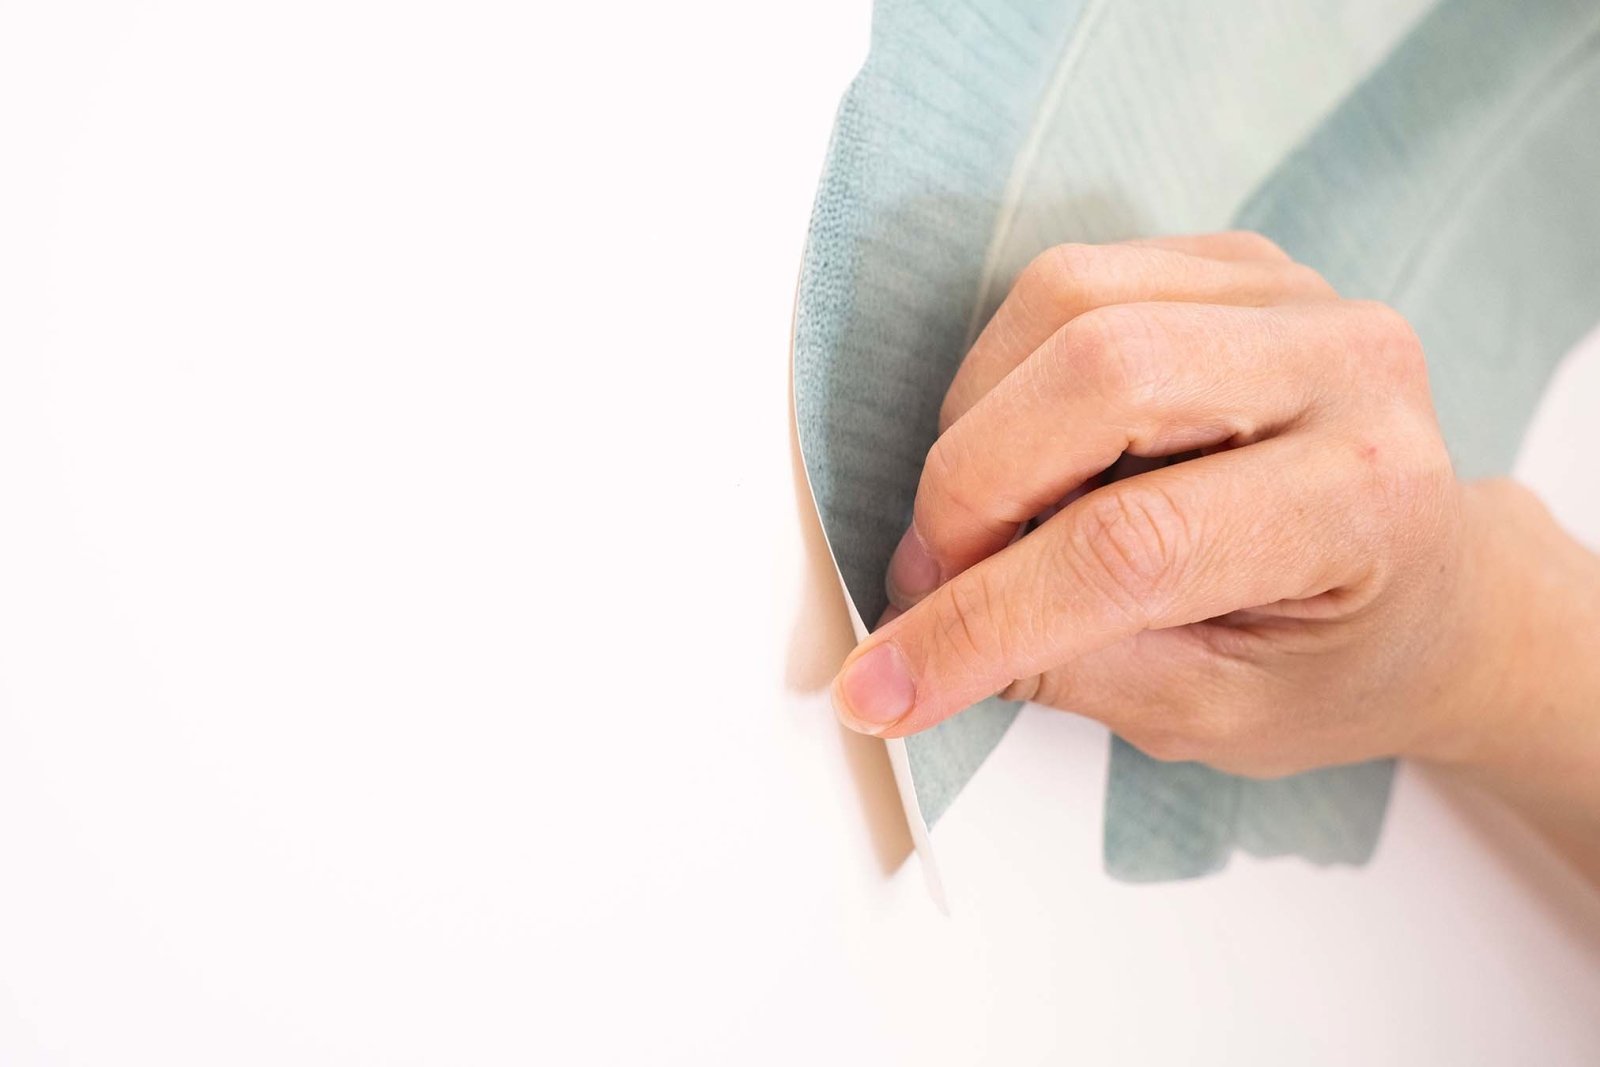
The most important thing to remember: heat is your best friend when removing any wall decal. If you are worried about your walls, always use a hairdryer to gently warm up the adhesive of the stickers before removal. Aim for warm, not hot.
Wall decals come in all shapes, sizes and materials. We won't go into all possible adhesives out there but instead focus on the most common one and the one we use: water based acrylic adhesive (the other common group are solvent based adhesives, which are more stable over time but contain solvents).
From the moment you attach a sticker on your wall, the water in the adhesive slowly starts to evaporate and bonds start to form between the sticker and the surface. Three main factors affect how strong these bonds become: smoothness of surface, time and temperature.
If you are worried about your walls: look at how smooth it is and how well the stickers stick. Be mindful of how long they have been attached, and gently warm up the stickers with a hairdryer before slowly peeling them off (perpendicular to the wall).
By the way, the great thing with water based adhesives is that they dissolve in water. That means that if the decals would end up leaving any adhesive remains on the wall, these can just be wiped off with a damp rag. A wet rag won't save peeling paint, however, so it's important to also try to determine the quality of your paint.
The second part in this interplay between the decal and the wall is, you guessed it, the wall. The trickiest part with assessing if the wall decal will damage your wall or not is trying to figure out how solid your paint in the first place. No matter how easily removable the adhesive is, the paint might still peel off if it is not attached to the wall behind.
Removal of any wall decal is like a simple tug of war. If the bond between the adhesive and the paint is stronger than the bond between the paint and the wall, you can probably imagine the outcome.
Sadly there are no magic tricks to find out how well the wall is painted, especially if you don't know the history of the house. Older walls are generally speaking usually safer, as they have many layers of paint applied over as many years - making the paint hard and resilient. If the paint looks very thin (with few layers of paint) or you have any doubts about the general quality of the paint job (specially on dry walls) we recommend not to risk it.
If you are painting your own walls, make sure the paint is correctly applied on a clean and primed surface. Dusty or crumbling walls are the worst surface for any paint. Let newly applied paint rest at least 14-30 days for it to dry and harden enough before applying any decals.
Our wall decals always come with a sample sticker. Use this sample in a not-so-obvious spot and leave it attached for at least 48 hours for the adhesive to harden. Remove the sample and re-attach it a few times. If the sticker removes well, then your walls are probably ready for the real deal.
Like we stated in the beginning, in the vast majority of cases our wall decals come off without any problems. However, we always prefer to proceed with caution. Here's a handy little checklist on how to use any wall decal with minimal risk.
Using wall decals is a simple, fast and fun way to decorate any space. By understanding how they work you also minimize possible risk that comes with attaching any adhesive product on your wall.
And remember that you can always get in touch with us if you have any doubts about our wall decals. Your walls and the environment are our priority, and we will always do everything we can to protect both (that's also the reason we wrote this blog post in the first place).
This article has been updated 9.2.2023
Leave a comment